Verify
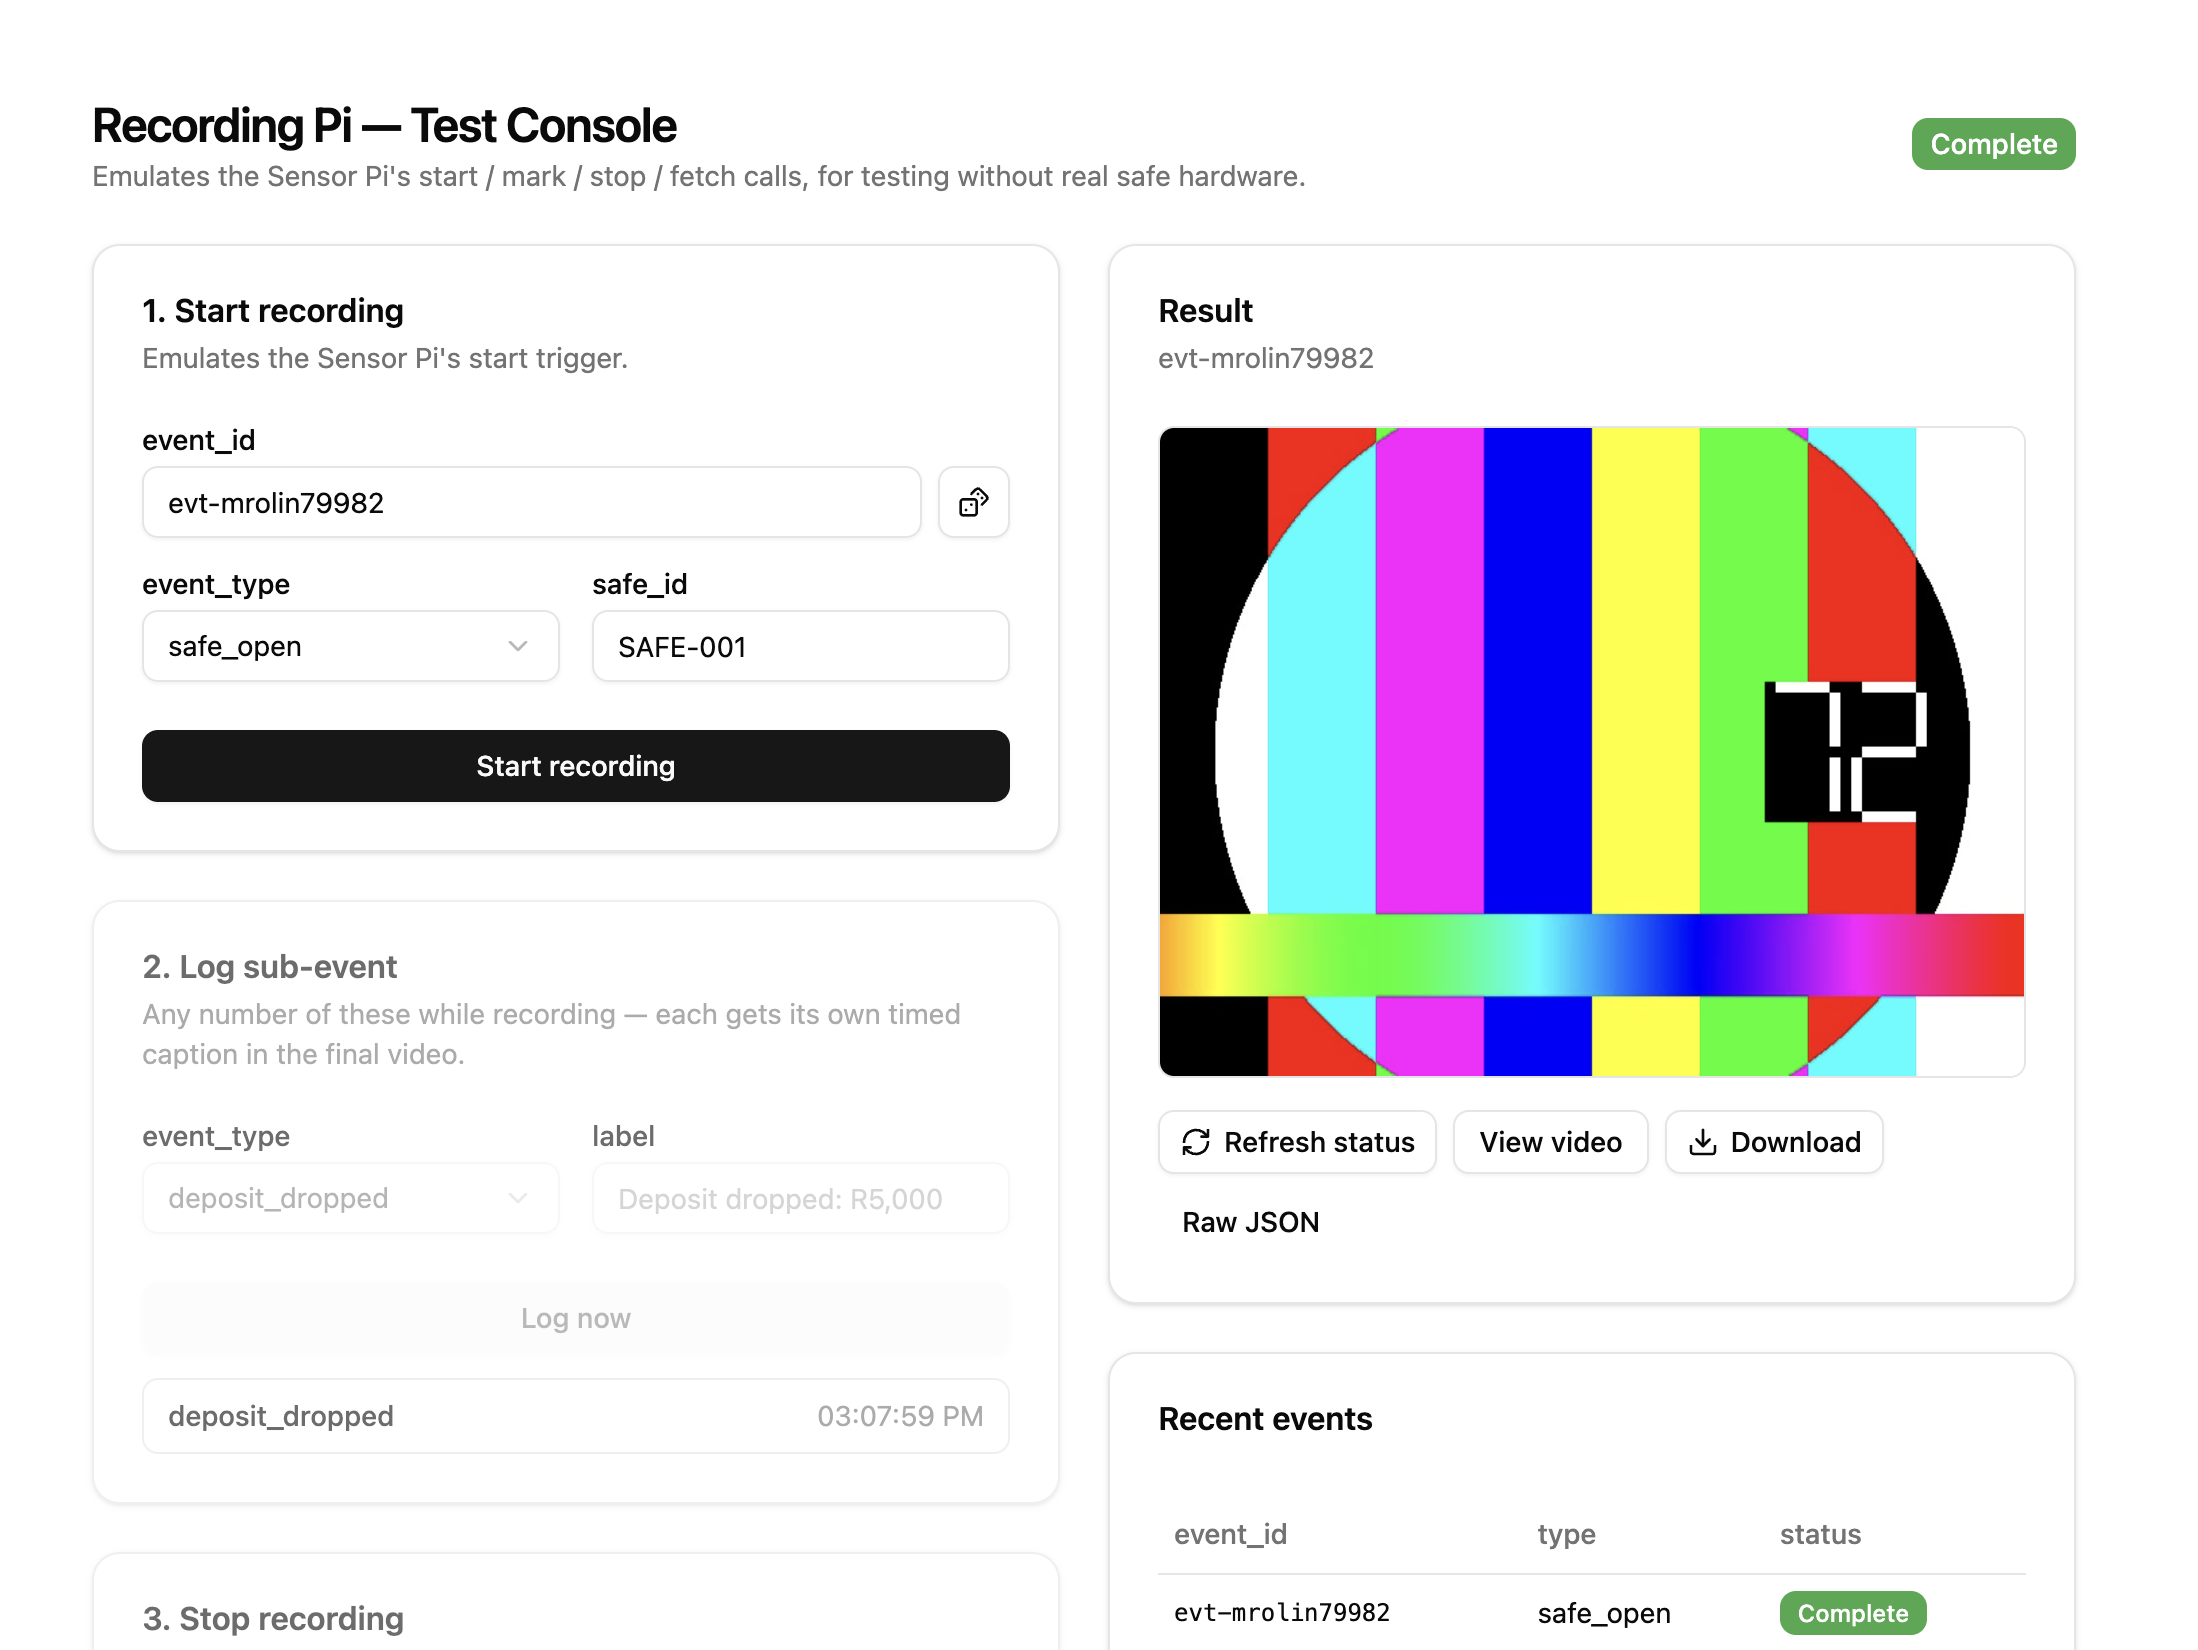
The Recording Pi includes a built-in test page that emulates the safe's start/stop signal, so you can confirm the whole pipeline works without needing real safe hardware.
1) Open the test page
From a browser on the same network, go to http://recording-pi.local:8080/test (or the Pi's IP address if .local doesn't resolve).
The Camera card at the top doesn't check anything on its own — it starts out Untested:

Click Test camera to resolve the camera's address and confirm it's reachable before running a test recording. If the camera is ONVIF, it also shows manufacturer, model, resolution, codec, frame rate, firmware version, and serial number once the check completes:

Live preview
Below the Camera card, you'll also see a Live preview card with a live video feed from the camera — handy for confirming it's aimed correctly before running a test recording, without needing to record anything. Kits are set up with this enabled by default.
If your kit predates this and hasn't been updated, the card will instead read "Live preview not configured on this device" — not a bug, just an older setup. See Troubleshooting if you'd expect it to be enabled and it isn't.
2) Run through a test recording
- Click Start recording
- Optionally click Log now one or more times to simulate events happening during the recording
- Click Stop recording
- Wait — it polls automatically — until the status shows Complete
3) Check the result
Click the thumbnail to view the finished clip. It should show the live camera feed with a timestamp burned in, plus a caption for each logged event.
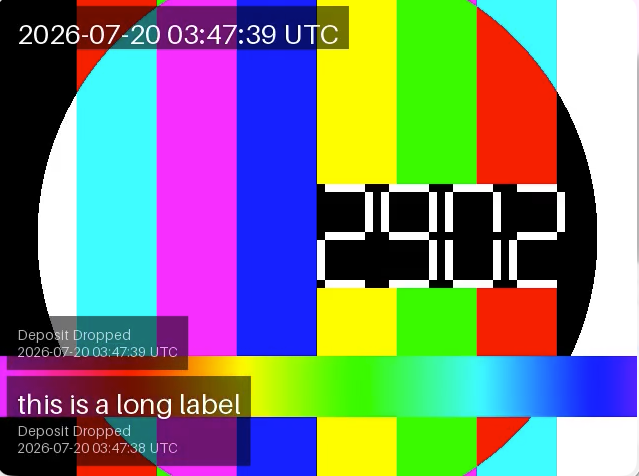
If this works, the camera and Recording Pi are fully set up and ready for the safe to be connected. If anything fails along the way, see Troubleshooting.