Camera Setup
1) Power and connect the camera
Connect the camera to the PoE injector's PoE port, and the injector's LAN port back to the site's router/switch. The camera powers on as soon as it's connected — no separate power supply needed.
2) Find the camera's IP address
Give the camera a minute to boot, then find its address on the network — either:
- Check your router/switch's connected-devices list for the camera (usually identifiable by its manufacturer name), or
- Use the manufacturer's discovery tool if one was provided with the camera
3) Log in to the camera's web interface
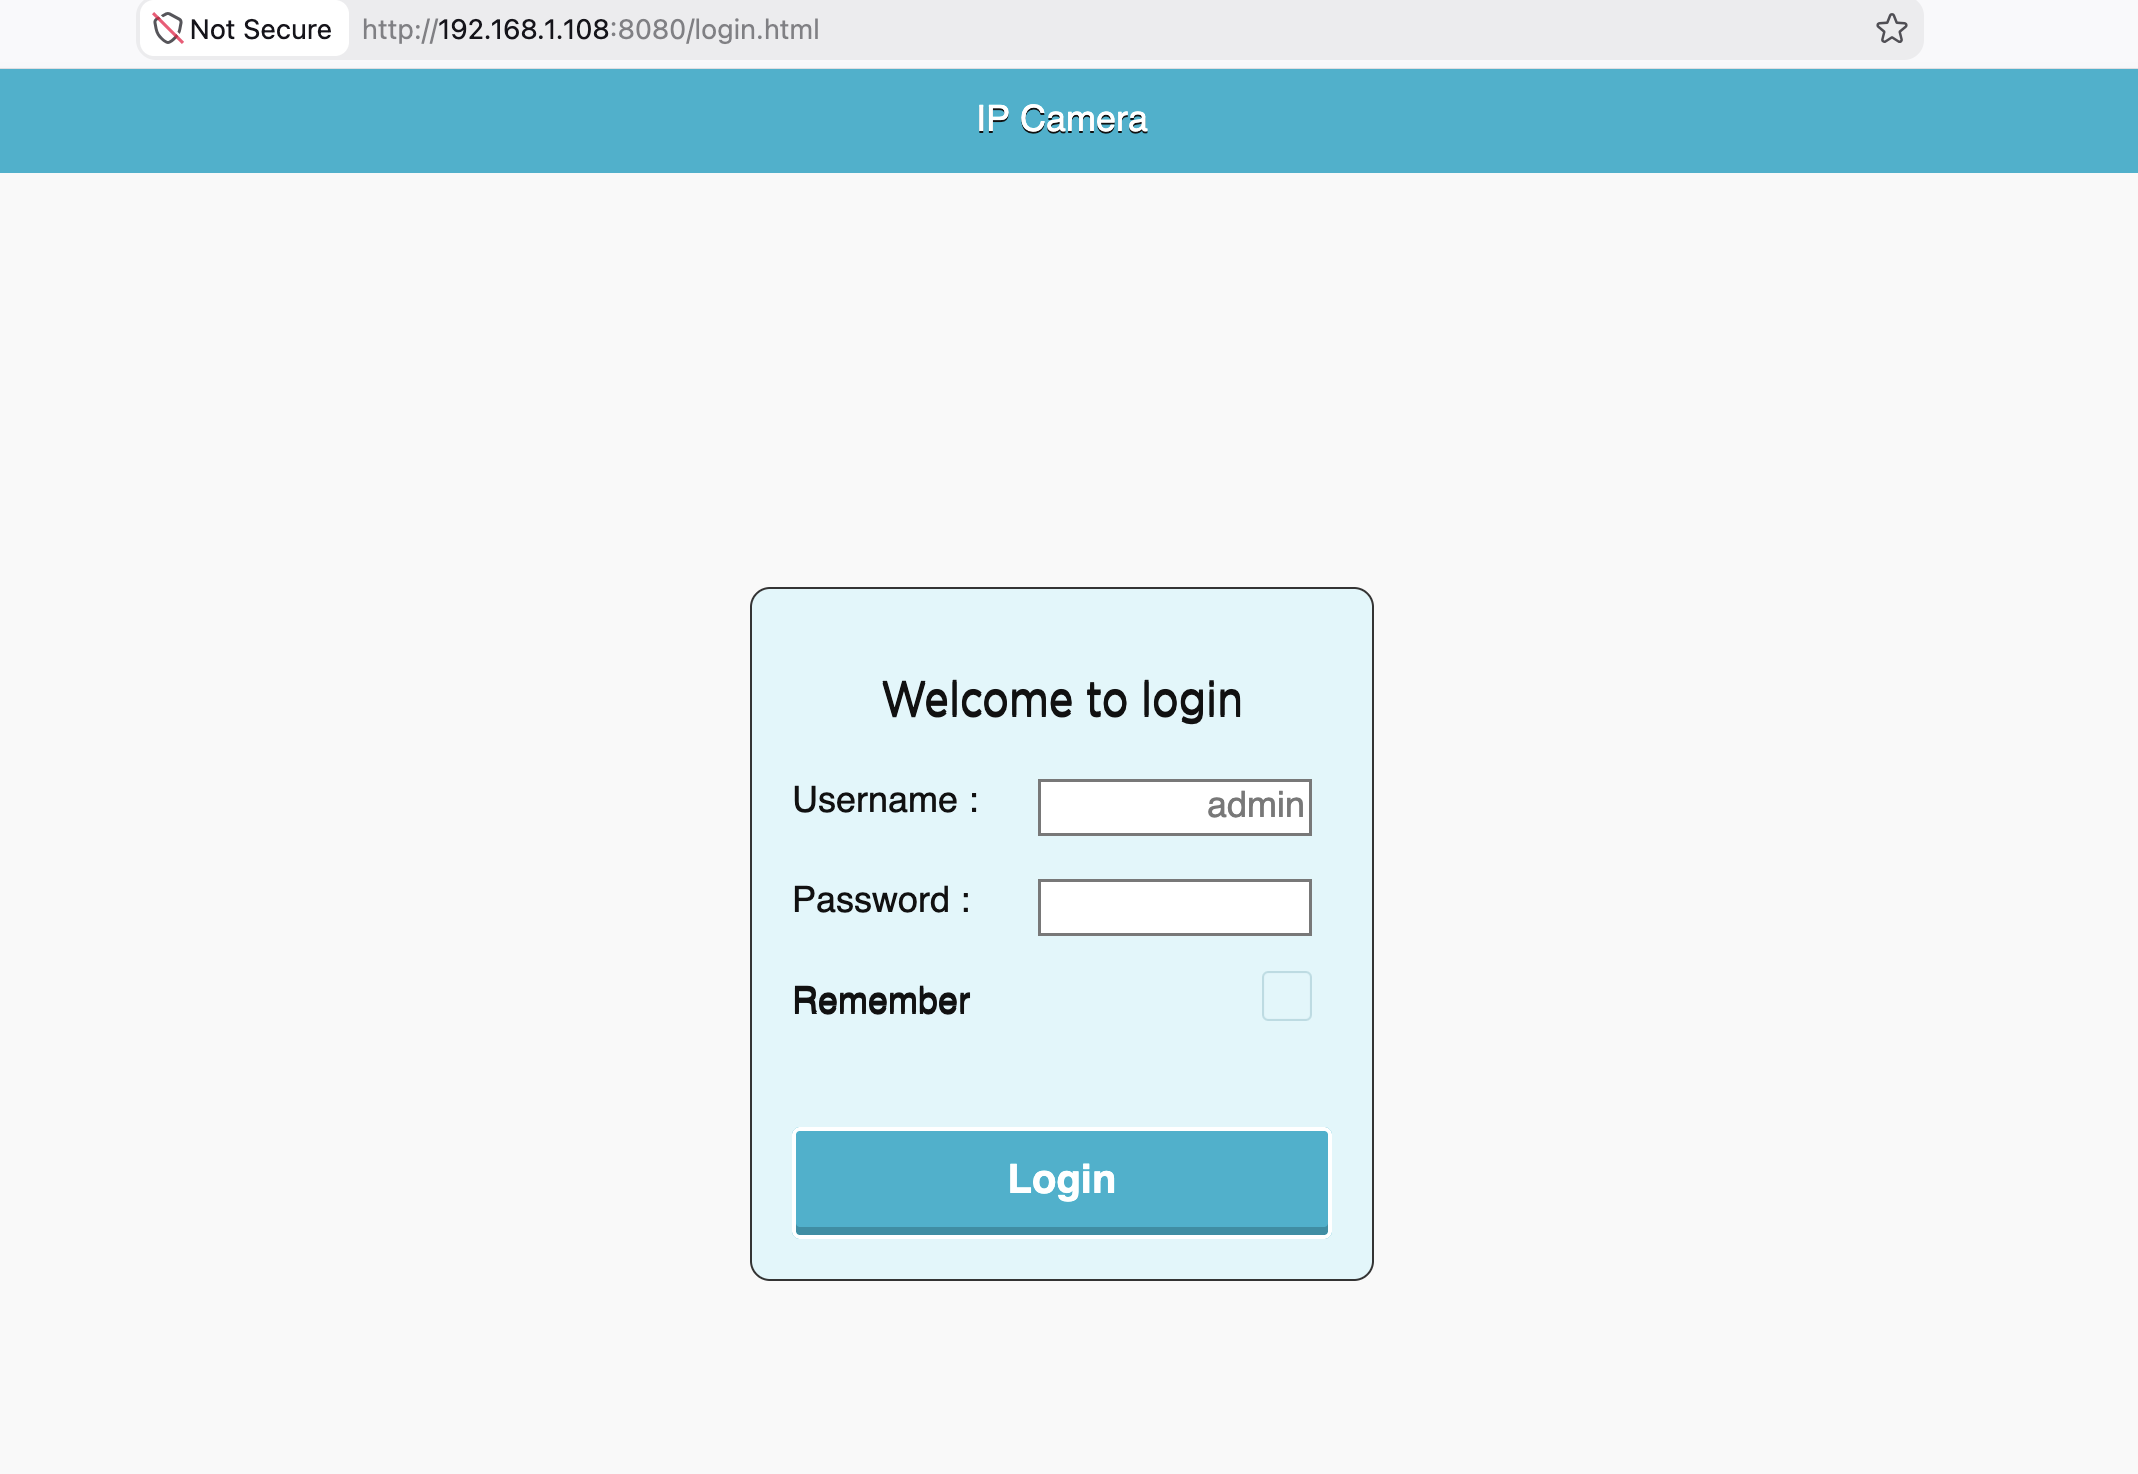
Open the camera's IP address in a browser and log in with the shared admin credentials.
4) Configure network, ONVIF, and RTSP settings
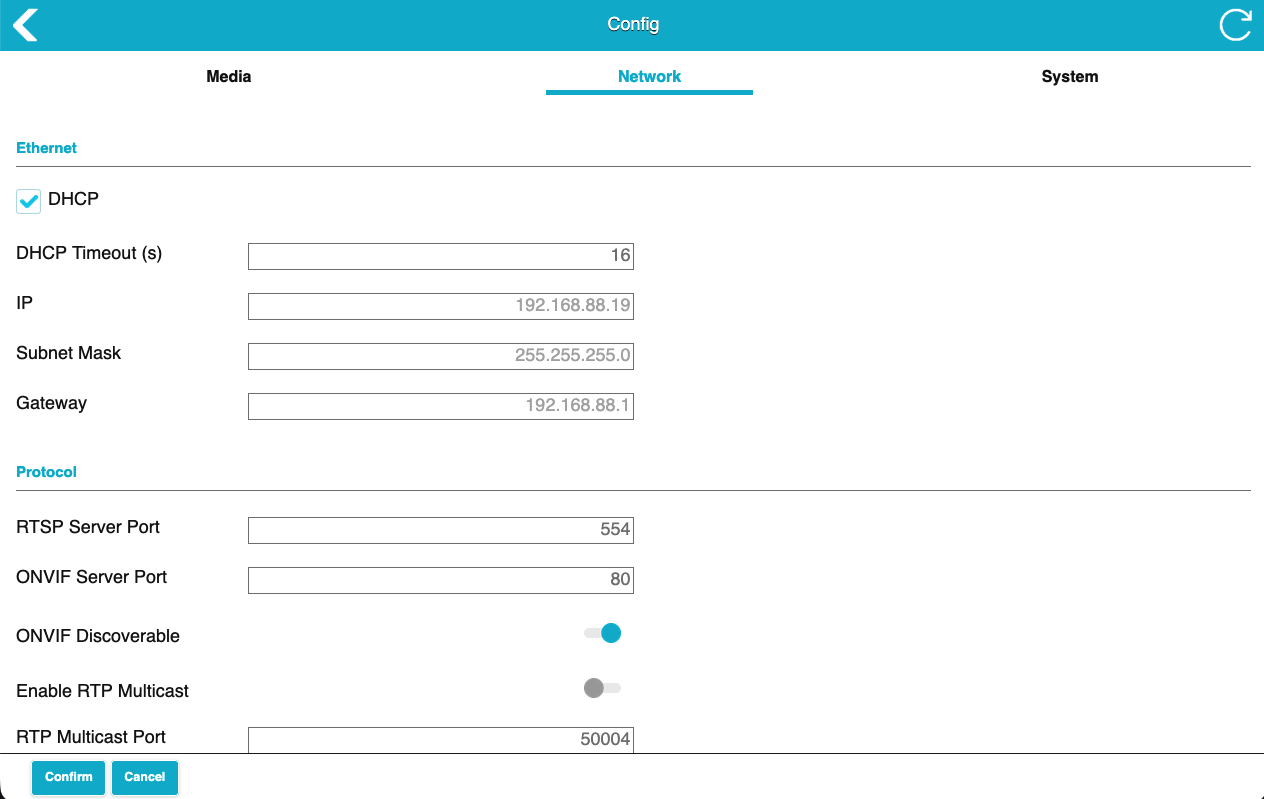
On this same Network settings page: give the camera a fixed address so it doesn't change on reboot (either a static IP or a DHCP reservation on the router, matching the site's addressing scheme), and confirm ONVIF Discoverable is on and the RTSP Server Port is set — the Recording Pi finds the camera automatically via ONVIF, using the same shared admin account for both.
That's all the camera itself needs — the Recording Pi resolves the actual stream URL on its own at startup. Continue to Raspberry Pi Setup.